ビデオレンダリング方法を選択方法
作成日:2020/05/06
手順
(1)
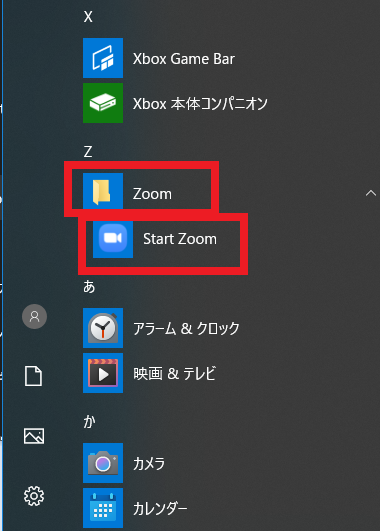
Windows 10 のスタートメニューから [Zoom] → [Start Zoom] を選択します。
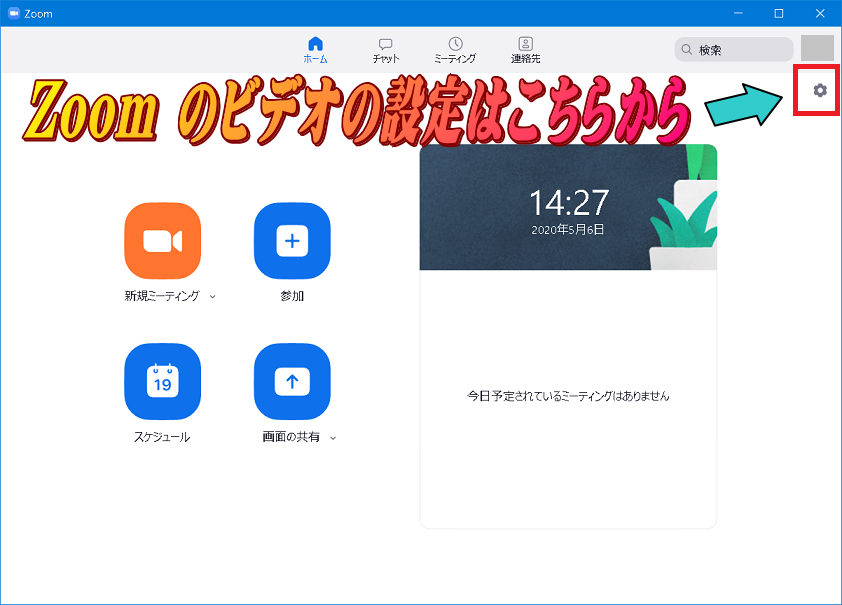
右上のアイコン(歯車マーク)をクリックすることにより Windows クライアントの設定画面を表示します。
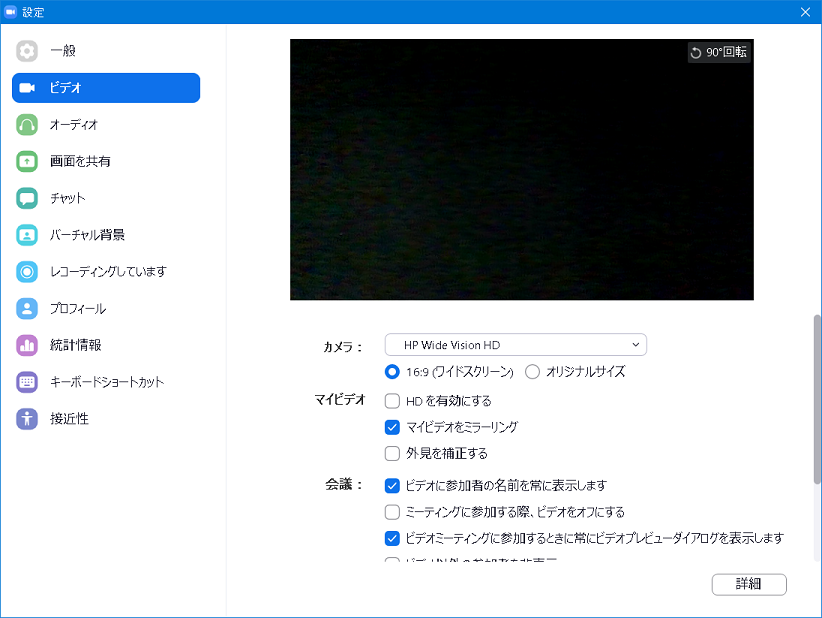
(2)「ビデオ」を選択します。
(3)「詳細」を選択します。
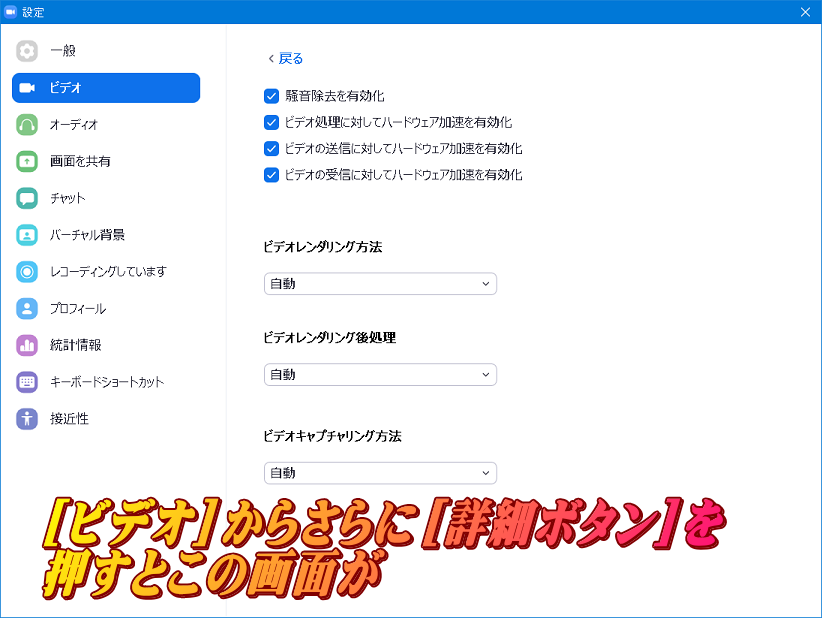
(4)
ビデオレンダリング方法を選択します。
・自動
・Direct3D11 フリップモード
・Direct3D11
・Direct3D9
・GDI
(5)
これらの設定は Zoom クライアント終了後も有効です。
Zoom のビデオ設定一覧